If your Windows PC often experiences high memory usage Windows 10, then you may have to check out the root of the problems. Windows operation systems have long experienced some high CPU usage or memory issues. While the same problems have repeated over and over again, the fact remains that the users, above all, should be cautious of operating their PCs. Despite the default settings of memories, some PCs still manage to encounter various problems of high memory usage on their Windows CPU. Some Windows services, like Service Host Superfetch, often cause the slowdown of PC performance as well. This leads every user to believe that there need to be adjustments to the Windows factory settings.
Ever since its release in 2015, Windows 10 has managed to make a big leap and improvement from its predecessors. In comparison to Windows 7 and 8, Windows 10 tends to be more flexible and up-to-date when it comes to constant improvement. Aside from the default programs from Windows, you can also install a lot of new and exciting software from the Microsoft store. While these options may seem exciting, they can also contribute to the high memory usage problem if not checked properly.
A lot of Windows 10 users have at least experienced high memory usage issues once. The problems may come and go in accordance with the PC conditions. Aside from the general issue of the system, Windows 10 may face some sort of troubles when it runs one too many programs at the same time. It often results in excessive work of RAM and the elements of CPU which correlates heavily to high memory usage.
High Memory Usage in Windows 10
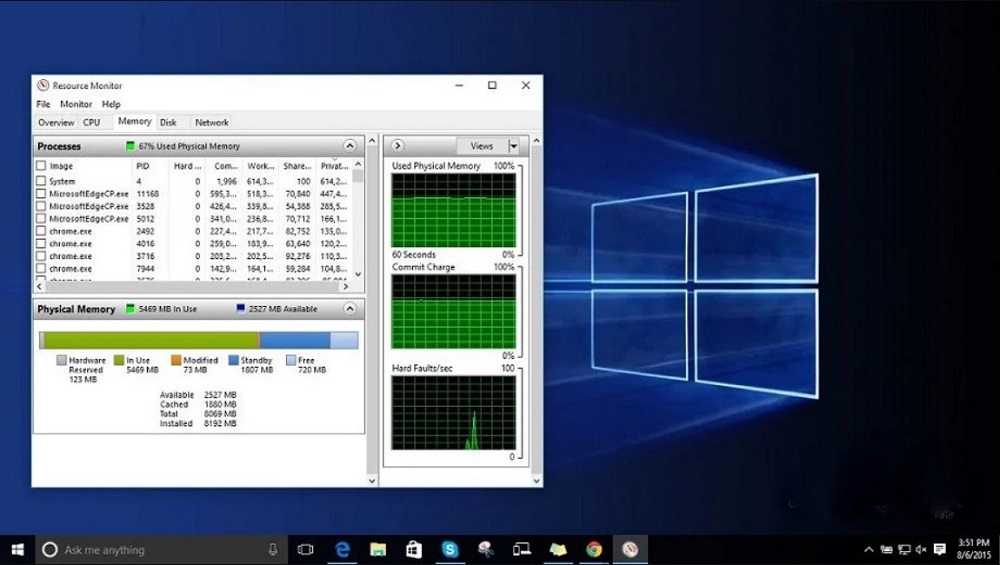
When it comes to fixing high memory usage problem, it is better if you start looking at the errors in the system operations. Make sure to look for the malware in the system first before changing up the settings of the OS. In some cases, the high memory usage is likely caused by malware rather than any Windows programs. Since Windows 10 software has mostly been upgraded from Windows 7 and 8, it is possible if some of the viruses from the previous version get through. Therefore, you need to check for potential malware lurking around undetected in your PC system.
Other than the malware, you need to look at the unnecessary programs on your PC. If malware does not cause high memory usage, then it is safe to say that the problem comes from the programs. You may need to check some of the programs which behave strangely. Some programs may take up memory usage greater than the others. In the end, it forces the computer CPU and the RAM to work maximumly. All of these result in Windows slow processing.
Most of the processes on the Windows system are monitored by Task Manager. Some of the programs work efficiently and others do not. One of the programs which process has been mentioned the most by the tech forums on the internet is ntoskrnl.exe. A lot of users have reported that this process increases RAM every time they turn on their PCs. While it may seem fine at the beginning, the process takes up all the free RAM during the PC operation. Not only does it take RAM space, but it also takes a large space of CPU.
In order to take precautions, you can simply look for the anti-malware software to scan your PC. A software like MalwareBytes is able to operate deep scan your Windows 10 PC. Afterward, you can go ahead and fix the high memory usage issues on your Windows 10 PC. Before you do that, make sure to reboot your PC right after the scan.
How to Fix High Memory Usage on Windows 10
High memory usage in Windows 10 CPU is often caused by unnecessary programs operating behind the system and malware. However, that does not mean the trouble does not come from the system itself. Although the high memory usage issue may be solved by eliminating some programs, the issue may happen again as time passes. The other time around, eliminating programs and malware may not solve this trouble. Here, we offer you choices to fix the high CPU memory usage on Windows 10 once and for all.
Take a look at the list of methods to fix high memory usage issues on Windows 10. Each one can work differently depending on your PC problems. Try one of each to find out which one works out for your PC.
Fix High Memory Usage from System Registry
Almost all of the system issues on Windows can be solved by tweaking some settings from the system registry. Either version of Windows, from 7 to 10, can use the system registry in case some troubles arise. In this case, you can fix the high memory usage on Windows 10 from the system registry.
Follow these steps below to handle the high memory usage issue.
Step 1: Press the Windows button + R at the same time. Hold it until the Run window appears.
Step 2: Type in Regedit on the Run window. Afterward, press Enter to continue.
Step 3: Once the Regedit window appears, search for ‘HKEY_LOCAL_MACHINESYSTEMCurrentControlSetControlSession ManagerMemory Management’.
Step 4: Locate ‘ClearPageFileAtShutDown’ and set its value to 1
Step 5: Once you finish changing the value, proceed to close the Regedit.
Step 6: At last, restart the computer.
Fixing the Driver
Some troubles resulting in high memory usage can come from the driver. In order to solve it, you need to follow these steps below.
Step 1: Head to the Start menu from Windows desktop.
Step 2: Search for Command Prompt.
Step 3: Right click on the best result on the list.
Step 4: Choose Run as Administrator from the list.
Step 5: Once the Command Prompt window appears, type in “cd C:Program Files (x86)Windows Kits8.1Toolsx64” and press Enter.
Step 6: You will be directed to the directory in the command prompt where WDK was installed.
Step 7: On the command prompt window, type in poolmon.exe and press Enter.
Step 8: Once the utility pops up, press P to sort the list via pool-type. Afterward, press B to sort it based on the numbers of bytes.
Step 9: Take notes on the pool tag of the item which uses high space on the memory.
Step 10: Access another command prompt. Check out which driver the tag belongs to.
Step 11: On the command prompt window, type in f indstr / s. Afterward, look for the tag which you have taken notes of before.
Step 12: The command will lead to different types of sys files.
Step 13: Go to the file properties to see which driver the files included in.
Step 14: Search for the Windows Driver Kit and download it from Microsoft official website.
Step 15: Install the driver kit to continue the operation.
Making Adjustments to Fix High Memory Usage on Windows 10
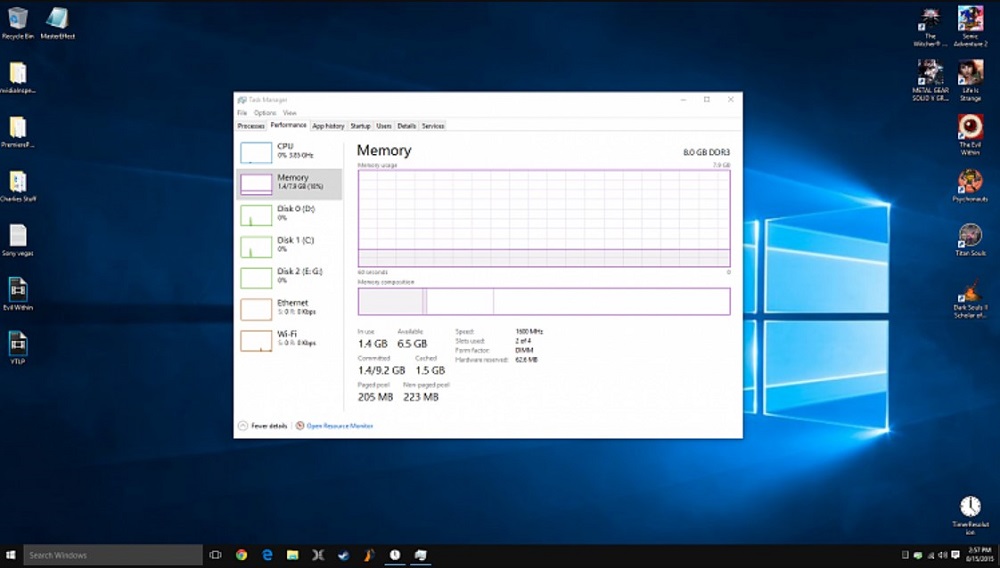
It is necessary to make the much-needed adjustments on your Windows 10 PC. Since you have your own business to take care of, you can surely make your Windows 10 PC fit your needs.
Follow the steps below to take care of the high memory usage issue on your Windows 10.
Step 1: Go ahead to the Computer icon on the desktop and right-click on it.
Step 2: Among several choices on the list, select Properties and click it.
Step 3: Choose the Advanced System settings from the tabs presented on the Properties window.
Step 4: Head to the System properties
Step 5: Choose Settings to continue
Step 6: Look for the option to “adjust for best performance”. Then click the Apply button.
Step 7: To finish it off, click OK and restart your computer.
Monitor the Programs on Your Windows 10
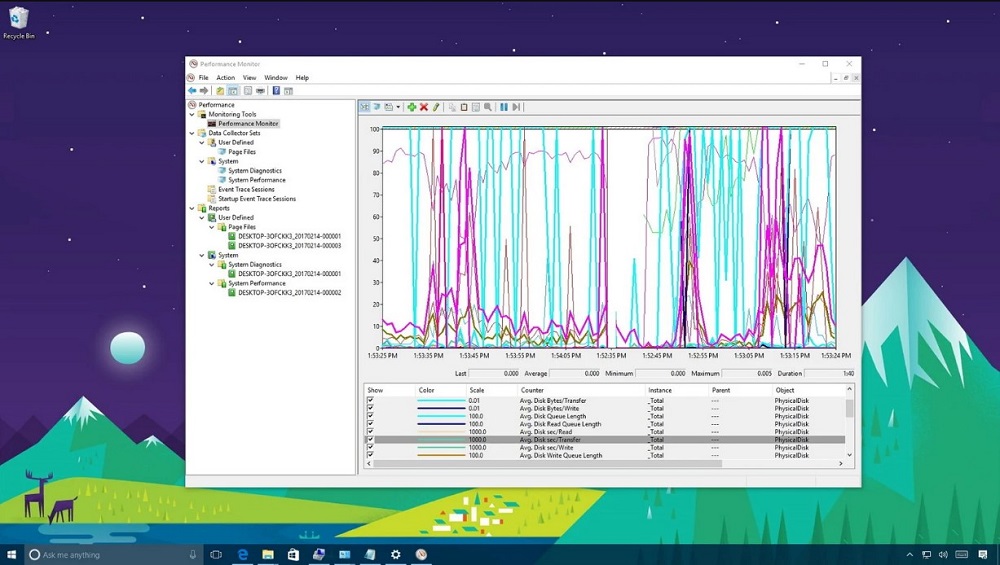
As mentioned before, a lot of unnecessary programs tend to cause high CPU memory usage on Windows 10. In order to see which one of the programs use up a lot of memories, you need to open Task Manager. Check the process tab to see the current activity of every program running on your Windows 10 PC. Look for the programs or apps which use more RAM memory than they are supposed to. If these certain programs or apps do not seem important for future projects, then you can uninstall them. By uninstalling these unnecessary programs, you can fix the high CPU memory usage issue on your Windows 10 PC.
Disabling Startup Programs to Fix High Memory Usage on Windows 10
As suggested before, uninstalling and disabling programs may solve the high memory usage situation on your Windows 10 PC. In terms of startup programs, you can simply disable it to reduce memory usage. Try to look at the programs which may not seem necessary to the PC operating system. Afterward, proceed to disable as many programs as you can find. With many programs gone from the Windows 10 startup, you will be able to conserve the CPU memory usage.
In order to do this method, follow these steps below.
Step 1: To start it off, press the Windows and R buttons at the same time.
Step 2: The Run window will appear.
Step 3: On the Run window, type in msconfig and press Enter to continue.
Step 4: Immediately, The Task manager window will appear. Look for the Startup tab and click it.
Step 5: There will be a list of programs which are set to run at the startup.
Step 6: Decide which one of the programs you wish to disable and right-click on them. Out of several choices presented, choose Disable.
Defragment Hard Drives
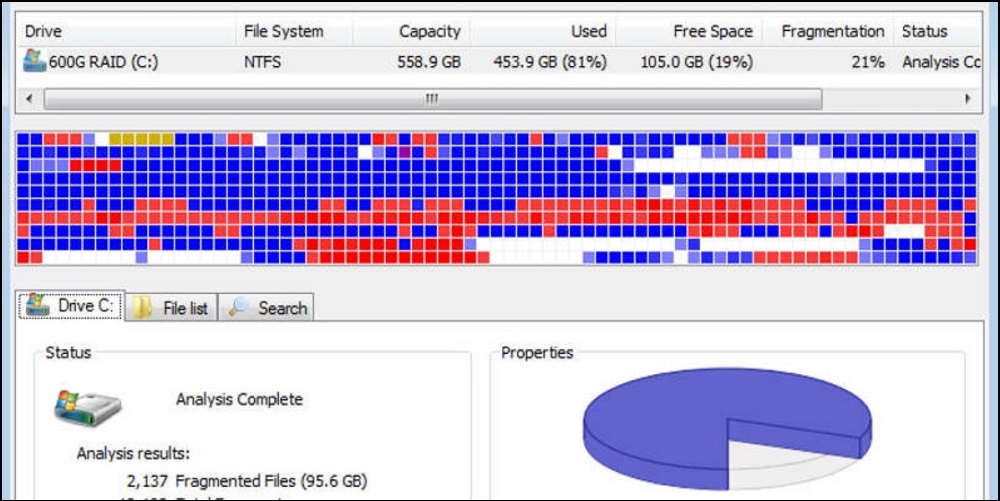
PC hard drives are often mismanaged if you do not routinely check on them. This can also affect the high memory usage as well as the RAM and the CPU. Therefore, you need to manage the hard drives by processing the defragment on them.
In order to do this method, follow these steps below.
Step 1: Start it off by opening the Run window. Press Windows and R buttons at the same time.
Step 2: Once the Run window appears, type in dfrgui and press Enter to continue.
Step 3: On the defragment window, select the hard drives you wish to defragment.
Step 4: Select Optimize and get through the instructions on the screen to get the defragment process done.
Step 5: Once the process finishes, restart your computer.
Use Necessary Programs for Windows 10
Too many applications can slow down your computer performance. While some of the programs may essentially entertain you or fulfill your side needs, they can also use a lot of the memory space as well as the RAM and CPU. Instead of operating all kinds of programs all at once, you need to close some of the unnecessary ones. The fewer programs operating on your Windows 10, the better the performance of your PC will be.
Scanning Third Party Programs to Check the Memory Usage on Windows 10
Installing third-party programs may bring some of the worst from the internet to your Windows 10 PC. Some of the third-party programs can potentially use up more than the memory space than required for several factors. In order to make sure they are safe to use, try to scan them. Running a full scan on the system will allow you to detect virus on your Windows 10 PC. It is one of the precaution actions you should take to avoid high memory usage on your Windows 10 system RAM and CPU.
Reboot Your Computer
When it comes to troubles in memory usage, rebooting your computer can always do the work. This method always works whenever your Windows 10 system experiences some slight problems. In order to fix the high memory usage on your Windows 10, you can try to reboot the system as a whole.
Rebooting Windows can also work perfectly if you want to speed up your PC performance. Aside from improving your PC performance, rebooting computer can allow you to inspect if there are any blocked programs in the process.
Windows Processes That Take Up Memory Usage on Windows 10
It is normal if Windows 10 has a lot of processes running in the background and on the desktop all at once. There is a lot of processes which may contribute to the slowdown of your PC performance. Problems tend to happen when a lot of processes happen at the same time.
Try to check each one of the Windows processes to see which process takes the highest memory usage amongst many other processes. If you do not solve the high memory usage issue soon, then it may result in the high CPU usage or other problems on your Windows 10.
Conclusion
High memory usage on Windows 10 CPU and RAM can be very annoying. It often slows down your PC performance or even stops the PC operation entirely. Some of these methods we have listed above may help you solve the high memory usage issue on your Windows 10 PC. Each one of them may work differently given the types of programs or factors which cause high memory usage in the first place.
Source: Security Feed

