
In the Feature Spotlight posts, we highlight a feature in iThemes Security Pro and share a bit about why we developed the feature, who the feature is for, and how to use the feature.
Today we are going to cover Local Brute Force Protection and Banned Users, two great features in the iThemes Security Pro plugin.
The iThemes Security Pro Local Brute Force Protection and Banned Users settings work in tandem to secure and protect the most attacked part of your website, the WordPress Login.
Why We Developed Local Brute Force Protection & Banned Users
The WordPress login is the most attacked part of any WordPress website. There are three main reasons that the WP login is such a popular target for attackers:
- The WordPress login URL is the same for every WordPress site. Anyone with experience working with WordPress knows the default login URL for WordPress is located on the
/wp-login.phppage. Keep in mind that even if you use a plugin to change the URL of where you keep your login form, it will not change how you would login using the command line. Most attacks on the WordPress login will use a terminal and not a web browser. - WordPress doesn’t limit the number of invalid login attempts. By default, there isn’t anything built into WordPress to limit the number of failed login attempts someone can make. Without a limit on the number of failed login attempts an attacker can make, they can keep trying an endless amount of usernames and passwords until they are successful.
- Brute force attacks require no skill. Brute force attacks refer to a trial and error method used to discover username and password combinations to hack into a website. Any beginner-level hacker can create a bot that scours the internet looking for WordPress login pages. Or you can just use one of the many open-source brute force applications that have already been created.
Your WordPress login is a lot like the front door of your house. Without a lock on your front door, it would be easy for anyone to just walk right into your home, start moving your furniture around, smashing your stuff, and stealing your TV. It only makes sense to add a lock to your front door to make it harder for a would-be thief to break into your home.
We decided we needed to create a lock that iThemes Security users could add to their WordPress login. This lock is designed to prevent would-be attackers from being able to walk right into the backend of your website, changing your pages, stealing your customer’s information, or taking control over your website.
What Is Local Brute Force Protection & Banned Users?
As we mentioned earlier, WordPress doesn’t limit the number of invalid login attempts someone can make. This means that a bot can spend all of eternity guessing random combinations of usernames and passwords until they finally brute force their way into the backend of your website.
The iThemes Security Pro Local Brute Force Protection feature keeps tracks of invalid login attempts made by a host or IP address and a username. Once an IP or username has made too many consecutive invalid login attempts, they will get locked out and will be prevented from making any more attempts for a set period of time.
The iThemes Security Pro Banned Users feature keeps tracks of IP lockouts. Once an IP has become a repeat offender, iThemes Security Pro will add the IP to the Banned Hosts list and prevent the IP from being able even to view your website, let alone try to login.
It is important to remember that there is no way to prevent an attack from occurring on your website; the important thing is to prevent those attacks from being successful.
How To Use Local Brute Force Protection & Banned Users in iThemes Security Pro
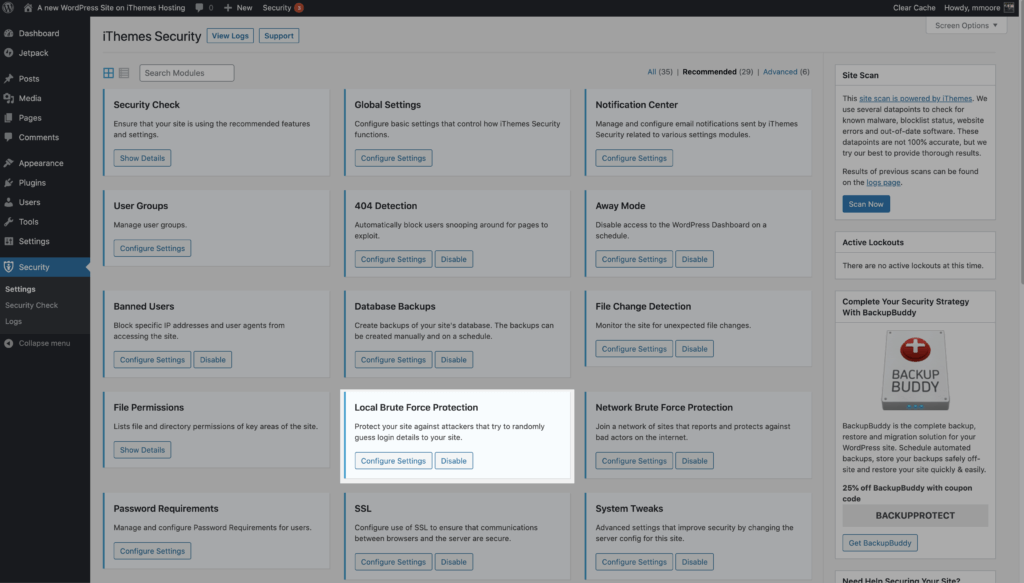
To get started using the Local Brute Force Protection and Banned Users features, you will need to enable them on the main page of the iThemes Security Pro settings page.


The Local Brute Force Protection Settings
Let’s take a look at the settings inside the Local Brute Force Protection module.

The first section of the settings shows the ban requirements that are set in the iThemes Security Global settings.
- Permanently ban – Enabling this setting will allow iThemes Security to add IPs to the blocklist and prevent them from accessing your website.
- Number of lockouts before permanent ban – This is the number of lockouts an IP must reach before getting added to the iThemes Security blocklist.
- How long lockouts will be remembered for ban – This is how long a lockout should count against an IP for a ban.
- Host/User lockout message – These are the messages that will be displayed for IP and username lockouts.
- Is this computer an authorized host – This tells you whether or not the IP address you are currently using is on the authorized host list. Your IP can’t get locked or banned if it is on the authorized host list.

The next section in the Local Brute Force protections settings allows you to get the thresholds for lockouts.
- Max Login Attempts Per Host – The number of invalid login attempts an IP is allowed before it gets locked out.
- Max Login Attempts Per User – This is the number of invalid login attempts a username is allowed before it gets locked out.
- Minutes to Remember Bad Login – This is how long an invalid login attempt should count against an IP or username for a lockout.
- Automatically ban “admin” user – When enabled, anyone using the Admin username when logging in receives an automatic lockout.
There are a couple of things that you want to keep in mind when you are configuring your lockout settings. You will want to give move invalid login attempts to users than you give IPs. Let’s say your website is under a brute force attack and the attacker using your username. The goal is to lock out the attacker’s IP and not your username, so you will still be able to login and get work done, even when your website is under attack.
You also don’t want to make these settings too strict by setting the number of invalid login attempts too low and the time to remember invalid attempts too long. If you lower the number of invalid login attempts for hosts/IPs to 1 and set the minutes to remember a bad login attempt to a month, you are drastically increasing the likelihood of inadvertently locking out legitimate users.
The Banned Users Settings
Now let’s take a look at the settings inside the Banned Users module.

- Default Ban List – When enabled, iThemes Security will use the hackrepair.com’s blocklist to ban known bad actors from your website.
- Ban Lists – When enabled, iThemes Security will be able to add IPs to the blocklist.
- Ban Hosts – IPs in this list will not be allowed to access your website. The ban list will show both IPs banned by iThemes Security and IPs manually added by you.
- Ban User Agents – User agents in this list will not be allowed to access your website.
One quick note. I wouldn’t spend too much of your time worrying about or monitoring lockouts or bans that occur on your website. iThemes Security Pro automates all of this for you, so you can spend your time on activities that make you money.
Don’t spend too much time worrying about or monitoring lockouts or bans that occur on your website. iThemes Security Pro automates all of this for you, so you can spend your time on activities that make you money.
Wrapping Up
By default, there isn’t anything built into WordPress to limit the number of failed login attempts someone can make. Without a limit on the number failed login attempts an attacker can make, they can keep trying an endless number of usernames and passwords until they are successful.
The iThemes Security Pro Local Brute Force Protection and Banned Users settings work in tandem to secure and protect the most attacked part of your website, the WordPress Login.
The post iThemes Security Pro Feature Spotlight – Local Brute Force Protection & Banned Users appeared first on iThemes.
Source: Security Feed